One of the hardest parts of starting development at work is getting a working environment set up. Docker fixes that by letting you spin up your own isolated dev environment in seconds. That means no dependency issues, no system conflicts, and no waiting on IT.
With Docker, you can run your entire development stack in containers, giving you full control without touching your host machine.
This tutorial will be the first in a 3 part series where we set up a development enviorment for developing apps for Azure cloud resources.
By the end of this guide, you will have:
- A custom Docker image for development
- A container you can start and attach to
- The first building block of your full local cloud development environment
Before starting, make sure you have Docker and Visual Studio Code installed, and that you’re comfortable using the terminal.
If you are looking where to get started with Docker, pause and check out the Docker documentation
This tutorial will be conducted on a Windows host and is geared towards Developers who have to use Windows devices.
The Custom Image
The first thing we need to do is create your own custom development Docker image using a Dockerfile.
A Dockerfile defines the configuration used to build your custom Docker image.
For this guide, the Dockerfile will contain three key parts:
- A base image – for this guide we will use Ubuntu, but there are plenty of other distributions that can be used.
- Commands to be run – these will handle setting up your development environment just how you like it.
- A command to keep the container running – so you can attach to it and work inside it.
A Dockerfile, has a structure something like this:
# Phosphor565 - 2026
FROM ubuntu:24.04

# Image felshing out and config - - - - - - - - - - - - - - - - - - - - -
RUN apt-get update && apt-get install -y --no-install-recommends \
    ca-certificates curl git git-lfs zsh sudo locales tzdata \
    build-essential make pkg-config \
    libssl-dev zlib1g-dev libbz2-dev libreadline-dev libsqlite3-dev \
    libncursesw5-dev xz-utils tk-dev libxml2-dev libxmlsec1-dev libffi-dev \
    liblzma-dev \
    openssh-client wget unzip zip gnupg lsb-release \
    vim nano direnv \
    python3-pip pipx \
    && rm -rf /var/lib/apt/lists/*

# Set time and language
RUN locale-gen en_GB.UTF-8 && update-locale LANG=en_GB.UTF-8
ENV LANG=en_GB.UTF-8
ENV LC_ALL=en_GB.UTF-8
ARG DEBIAN_FRONTEND=noninteractive
ENV TZ=Europe/London

# create new user and ensure Image uses user and has working dir
RUN useradd -m -s /usr/bin/zsh developer \
 && echo "developer ALL=(ALL) NOPASSWD:ALL" > /etc/sudoers.d/99-developer \
 && chmod 0440 /etc/sudoers.d/99-developer

USER developer
RUN sudo mkdir -p /development
WORKDIR /development
ENV HOME=/home/developer
ENV SHELL=/usr/bin/zsh

# - - - - - - - - - - - - - - - - - - - - - - - - - - - - - - - - - - - -


# Additional Development Specific Tools - - - - - - - - - - - - - - - - -

# Azure CLI - https://learn.microsoft.com/en-us/cli/azure/install-azure-cli-linux
RUN curl -sL https://aka.ms/InstallAzureCLIDeb | sudo bash

# Azure Function App Local Dev - https://learn.microsoft.com/en-us/azure/azure-functions/functions-run-local
# run as root for this installation
USER root
RUN curl https://packages.microsoft.com/keys/microsoft.asc | gpg --dearmor > microsoft.gpg
RUN sudo mv microsoft.gpg /etc/apt/trusted.gpg.d/microsoft.gpg
RUN sudo sh -c 'echo "deb [arch=amd64] https://packages.microsoft.com/repos/microsoft-ubuntu-$(lsb_release -cs 2>/dev/null)-prod $(lsb_release -cs 2>/dev/null) main" > /etc/apt/sources.list.d/dotnetdev.list'
RUN sudo apt-get update
RUN sudo apt-get install azure-functions-core-tools-4
USER developer
# - - - - - - - - - - - - - - - - - - - - - - - - - - - - - - - - - - - -


# Creature Comforts - - - - - - - - - - - - - - - - - - - - - - - - - - -

# OhMyZsh - https://ohmyz.sh/
RUN sh -c "$(curl -fsSL https://raw.githubusercontent.com/ohmyzsh/ohmyzsh/master/tools/install.sh)" "" --unattended \
 && git config --global init.defaultBranch main \
 && git config --global pull.rebase false \
 && git lfs install

# Ensure zsh is configured
RUN cp ~/.oh-my-zsh/templates/zshrc.zsh-template ~/.zshrc \
 && sed -i 's/^ZSH_THEME=.*/ZSH_THEME="robbyrussell"/' ~/.zshrc \
 && sed -i 's/^plugins=.*/plugins=(git python pip docker docker-compose)/' ~/.zshrc \
 && printf '\n# pyenv\nexport PYENV_ROOT="$HOME/.pyenv"\nexport PATH="$PYENV_ROOT/bin:$PATH"\nif command -v pyenv >/dev/null 2>&1; then\n  eval "$(pyenv init -)"\n  eval "$(pyenv virtualenv-init -)"\nfi\n' >> ~/.zshrc \
 && printf '\n# direnv\nexport EDITOR=vim\neval "$(direnv hook zsh)"\n' >> ~/.zshrc \
 && printf '\n# pipx\nexport PATH="$HOME/.local/bin:$PATH"\n' >> ~/.zshrc

# UV Python Package Manager - https://docs.astral.sh/uv/
RUN curl -LsSf https://astral.sh/uv/install.sh | sh

# - - - - - - - - - - - - - - - - - - - - - - - - - - - - - - - - - - - -

# Keep the container running by running a terminal  - - - - - - - - - - -
CMD ["zsh"]
Building and Orchestrating
Now that we have our Dockerfile we can now build our docker image with the following command
docker build -t my-dev-img .docker buildtells Docker to build an image from a Dockerfile-t my-dev-envtags your image so that it can be referenced later.tells Docker to use the current directory as the build context
During this process, Docker will execute each instruction in the Dockerfile step by step, creating a layered image.
Next, we need a simple way to run and manage our container. We’ll use Docker Compose for this.
An example docker compose is shown below, which can be saved as docker-compose.yaml
services:
    dev-container:
        image: my-dev-img
        container_name: DevContainer
        volumes:
            - .:/development
        tty: true
        stdin_open: true
One of the most important sections here is volumes.
This mounts your current directory into the container at /development. Any changes you make inside the container will be reflected on your host machine and vice versa.
This ensures your code is never tied to the lifecycle of the container.
Connecting and Developing
Now let’s get everything running, you should now have your Dockerfile and docker-compose.yaml in your working directory.
Bring the container up with:
docker compose up -d The -d flag runs the container in the background.
Once running, you’re ready to connect and start developing.
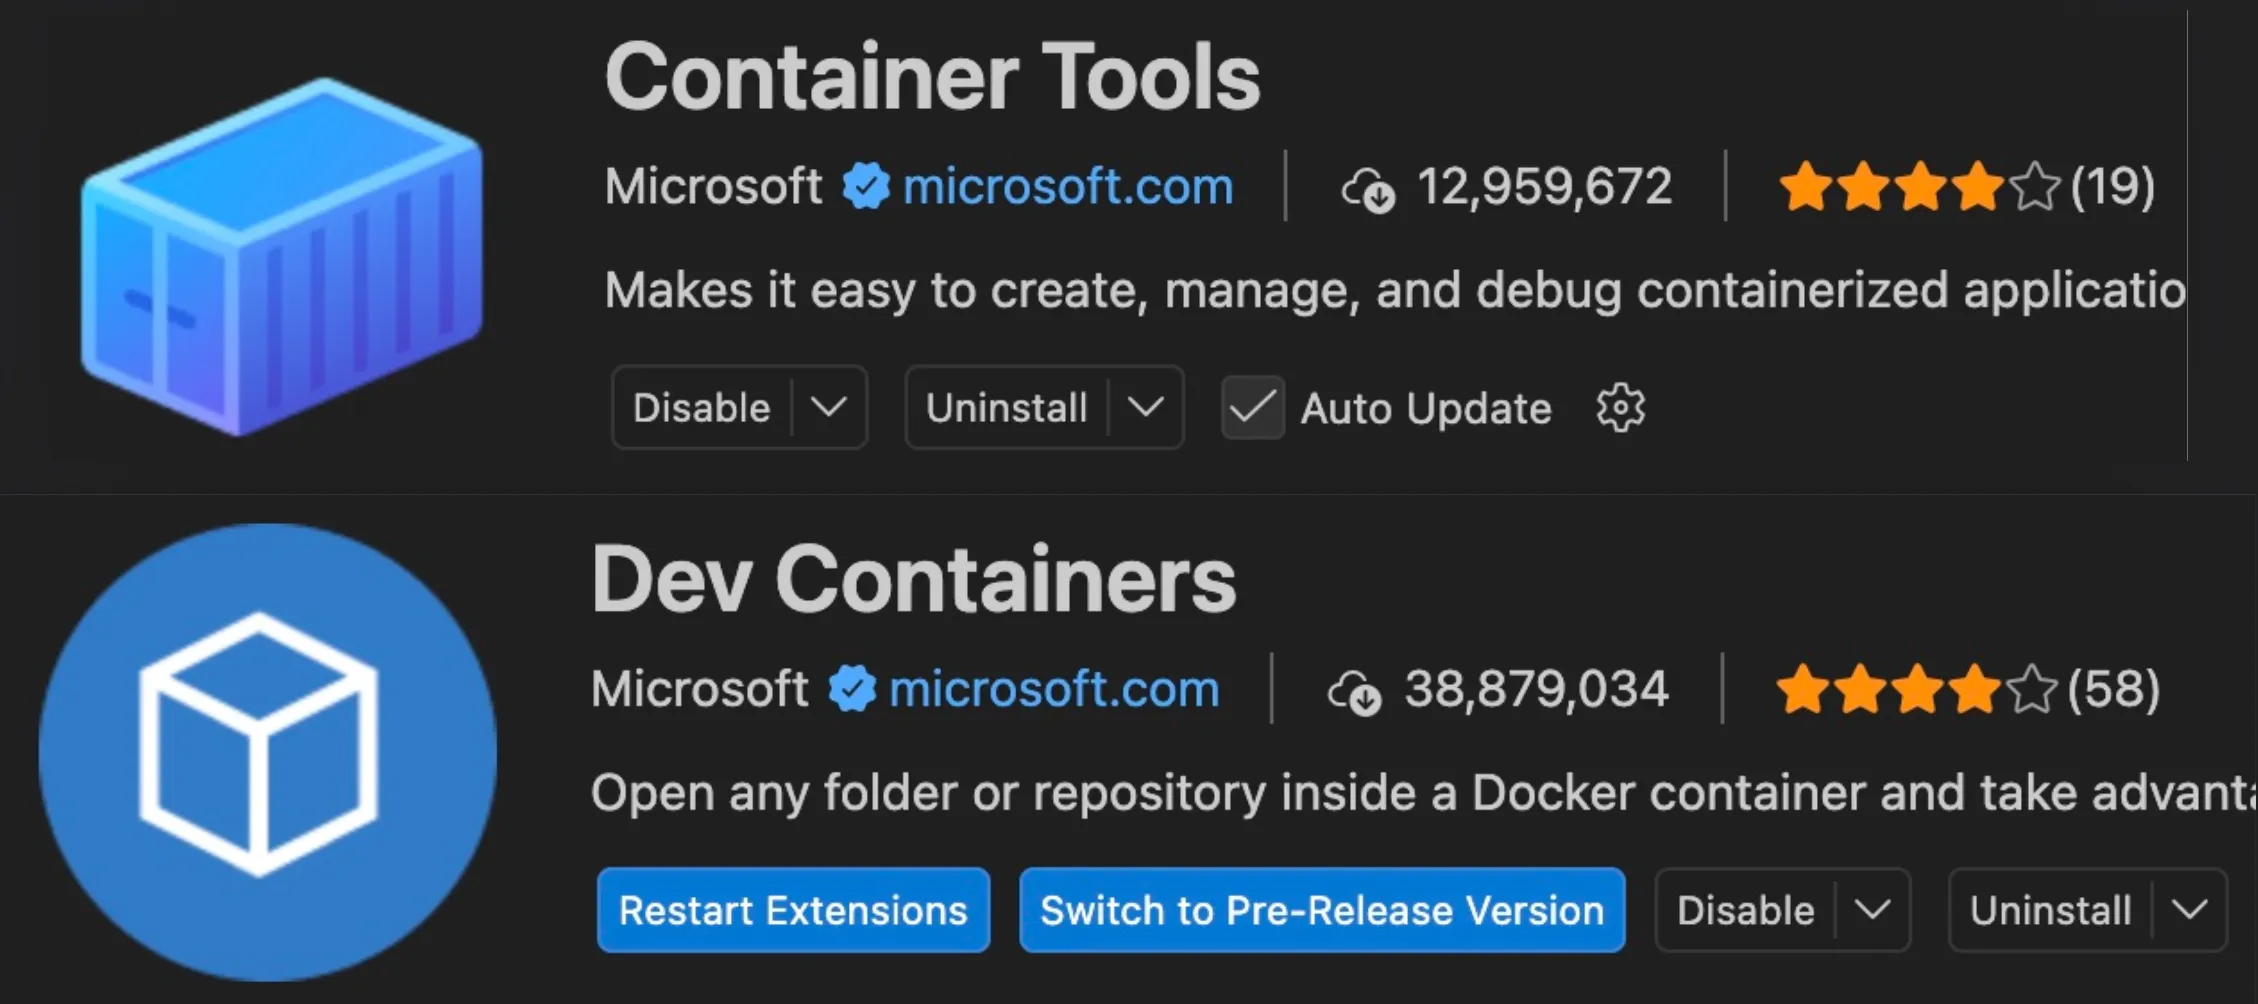
I reccomend using Visual Studio with the Container Tools and Dev Container extensions installed to do this.
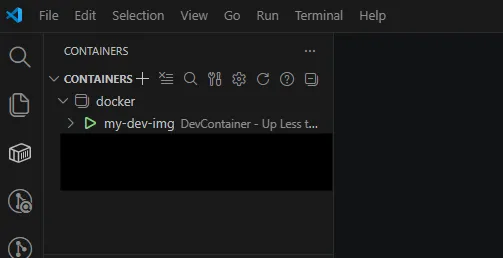
Once installed your running docker container should be visible,
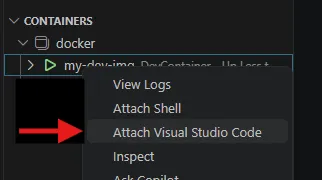
Now simply right click and attach VS Code to connect and install the VS code server directly to the Docker container to get coding! You should now be able to open up the /development directory from the container in VS Code and see the files from your host directory with your Docker files.

If you want the files for reference, check my GitHub Here